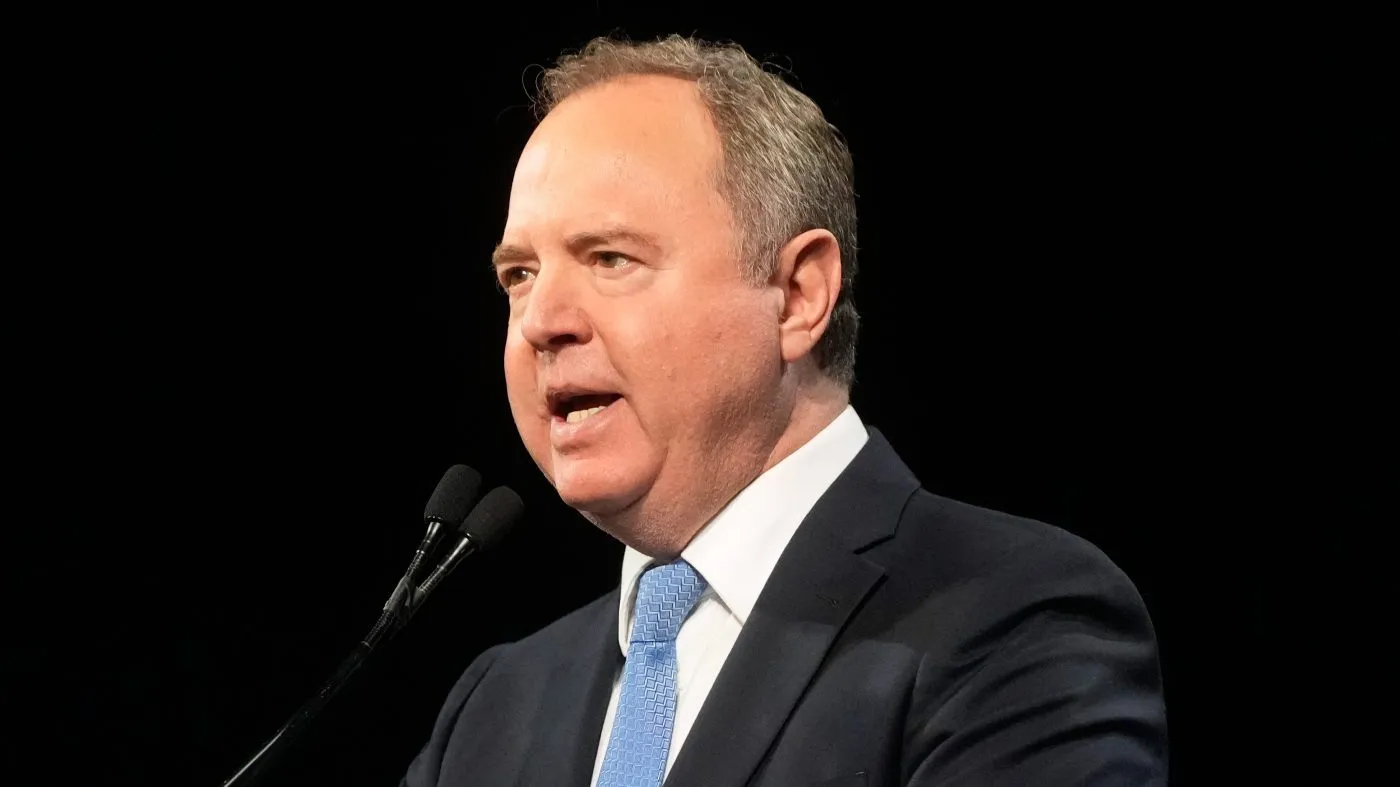
Sen. Adam Schiff Condemns System That Elevated Elon Musk to Trillionaire Status
Provpnadvice.com – On Friday evening, California Senator Adam Schiff issued a sharp critique of the economic structure that has enabled figures like Elon Musk to amass unprecedented wealth, while millions of Americans struggle to afford basic healthcare services. In a post on social platform X, Schiff highlighted the stark contrast between the concentration of wealth at the top and the growing disparity in access to essential services, accusing the system of fostering inequality and neglecting the needs of ordinary citizens.
Elon Musk’s Rise to Trillionaire Status
Friday marked a pivotal moment in the financial landscape as SpaceX, the aerospace company founded by Musk, made its debut on the stock market. The event propelled Musk into the exclusive club of trillionaires, making him the first individual in history to reach that staggering level of wealth. Shares of the company opened 11 percent above their initial public offering (IPO) price, resulting in a valuation exceeding $1.96 trillion—nearly double the combined wealth of the top 40 percent of American households, according to recent reports.
Musk, who also owns X (formerly Twitter), took to the platform to celebrate the milestone, stating, “I love the incredible people of SpaceX beyond words.” His remarks underscored the public perception of his success as both a personal achievement and a symbol of broader economic trends. However, for Schiff and other critics, the same success represents a systemic failure that prioritizes the interests of the wealthy over the common good.
Healthcare as a Political Battleground
As the debate over healthcare affordability continues to dominate political discourse, Schiff’s comments resonate deeply. The expiration of expanded subsidies under the Affordable Care Act last year has left many Americans without the financial support they previously relied on, forcing them to shoulder higher insurance premiums. This situation has intensified the divide between the affluent and the working class, with critics arguing that the current system fails to provide equitable access to care.
“There is something terribly wrong about an economy that produces its first trillionaire, but cannot provide health care for its people,” Schiff wrote, referencing a recent article from The New York Times. He emphasized that the wealthiest families in the country now control nearly 40 percent of the total wealth, a figure that has sparked calls for reform. “This is the cost of a corrupt system, where wealth perpetuates itself, and poverty, at the same time,” he added, framing the issue as a cycle of economic stagnation and privilege.
Democratic Calls for Wealth Reform
The growing discontent among Democrats has led to renewed discussions about wealth taxation. Senator Elizabeth Warren (D-Mass.) took to social media to argue that the typical American household would need to work over 11 million years to match Musk’s net worth, a statistic that underscores the vast gap between the ultra-rich and the rest of the population. “We need a wealth tax,” she stated, advocating for policies that would redistribute income more fairly.
Similarly, California Representative Sarah Jacobs (D-Calif.) criticized the effective tax rate paid by Musk, pointing out that it is lower than that of essential workers like truck drivers and nurses. “It’s not complicated—we need to actually TAX THE RICH,” she wrote, reinforcing the argument that the current tax system allows billionaires to avoid their share of the national burden. These statements align with broader Democratic efforts to address wealth inequality, particularly in the wake of the 2023 tax code changes that have reduced the overall tax burden on high-income earners.
Legislative Measures to Challenge Wealth Accumulation
Senator Bernie Sanders (I-Vt.) and Representative Ro Khanna (D-Calif.) have spearheaded legislative initiatives aimed at curbing the influence of billionaires. Their bill, the Make Billionaires Pay Their Fair Share Act, seeks to impose a wealth tax on the 938 billionaires in the United States, who collectively own $8.2 trillion in assets. If enacted, the measure would generate over $4 trillion in revenue over the next decade, funds that could be used to support public programs such as healthcare and social safety nets.
Sanders also emphasized the importance of reforming the Social Security system, which has become a focal point for fiscal stability. “Today, Elon Musk pays the same amount into Social Security as someone earning $184,500,” he noted on X. “If we end that absurdity and lift the cap on taxable income, we can make Social Security solvent for 75 years and expand benefits by $2,400.” His proposal aims to address the growing financial strain on the program by ensuring that the wealthiest individuals contribute more to its sustainability.
Political Rhetoric and Public Sentiment
The controversy surrounding Musk’s wealth has extended beyond Capitol Hill, with state leaders also weighing in. California Governor Gavin Newsom, who has clashed with Musk over policy disagreements in recent years, echoed the lawmakers’ concerns. “Americans are struggling to pay for groceries and gas while Elon Musk becomes a TRILLIONAIRE,” he tweeted, highlighting the disconnect between the costs of living and the earnings of the ultra-wealthy. Newsom’s remarks reflect a broader sentiment that the current economic framework favors the rich, enabling them to accumulate wealth while everyday expenses rise.
Experts and activists have pointed to the role of corporate tax cuts and deregulation in allowing companies like SpaceX to thrive with minimal oversight. The recent IPO of SpaceX, which saw its valuation surge to $1.96 trillion, has become a symbol of the system’s ability to concentrate power and resources in the hands of a few. Critics argue that such growth is only possible when the rules are designed to benefit the wealthy, often at the expense of public services and working-class wages.
Context and Broader Implications
While Musk’s wealth has been celebrated as a testament to innovation and entrepreneurship, Schiff’s critique highlights the challenges faced by the majority of Americans. The senator’s focus on the “corrupt system” reflects concerns that the financial system is rigged to reward those with existing wealth, creating a feedback loop where the rich become even richer. This perspective is not new; it has been a recurring theme in Democratic campaigns to address income inequality and tax policy reform.
Shifting the conversation to the structural causes of wealth concentration, Schiff’s comments also draw attention to the influence of private interests in shaping public policy. His earlier criticism of Musk’s business dealings with the Trump administration, particularly during Musk’s tenure as a special government employee, suggests a broader skepticism of how the private sector interacts with government institutions. These concerns are amplified by the recent surge in Musk’s wealth, which has been seen as a direct result of the policies that prioritize corporate profits over public welfare.
As the debate over Musk’s financial success continues, it has reignited discussions about the role of capitalism in modern society. The question remains: should the system that created a trillionaire be held accountable for the costs it imposes on the average American? With the Affordable Care Act’s subsidies no longer in place and inflation driving up everyday expenses, the urgency for reform has never been greater. Whether through wealth taxes, Social Security expansions, or other measures, the focus is on ensuring that the benefits of economic growth are shared more equitably across all levels of society.
Conclusion: A Nation Divided by Wealth
The rise of Elon Musk to trillionaire status has become a focal point for political and economic discourse, revealing the deepening divide between the wealthy and the working class. As Schiff and other Democrats call for systemic change, the conversation shifts from individual success to the broader question of how the economy functions. The challenge lies in balancing innovation and entrepreneurship with policies that address the needs of the American public, ensuring that progress benefits everyone, not just a select few.
In the words of Schiff, “There is something terribly wrong about an economy that produces its first trillionaire, but cannot provide health care for its people.” His critique, though directed at Musk, serves as a reminder of the structural inequalities that continue to shape the United States. With the wealth of the top 1 percent growing at an alarming rate and public programs facing financial strain, the call for reform has never been louder. The question is whether the nation can find a way to correct these imbalances before the next generation inherits a system that favors the few at the expense of the many.